You’ve just finished painting, you step back to admire the walls—and there they are. Uneven streaks. Shiny lines. Dull patches that ruin what should have been a smooth, professional-looking finish. Those are roller marks, sometimes called lap marks, and they’re one of the most common painting issues both homeowners and DIY painters encounter.
The good news? You don’t always have to repaint the entire wall to fix them. Most roller marks can be corrected with light sanding, a properly applied thin coat, and a few professional techniques. The key lies in understanding why they form—and how to prevent them from showing up again.
Key Takeaways
-
Roller marks happen when wet paint overlaps partially dried paint.
-
Fixing them doesn’t always mean starting over—smart sanding and re-rolling can solve the issue.
-
Using premium, self-leveling paints helps eliminate streaks and sheen inconsistencies.
-
Professional painters prevent roller marks with the right tools, technique, and timing.
-
Knowing how paint dries and levels out is essential for a flawless finish.
Understanding Roller Marks: Why They Happen in the First Place
What Are Roller Marks?
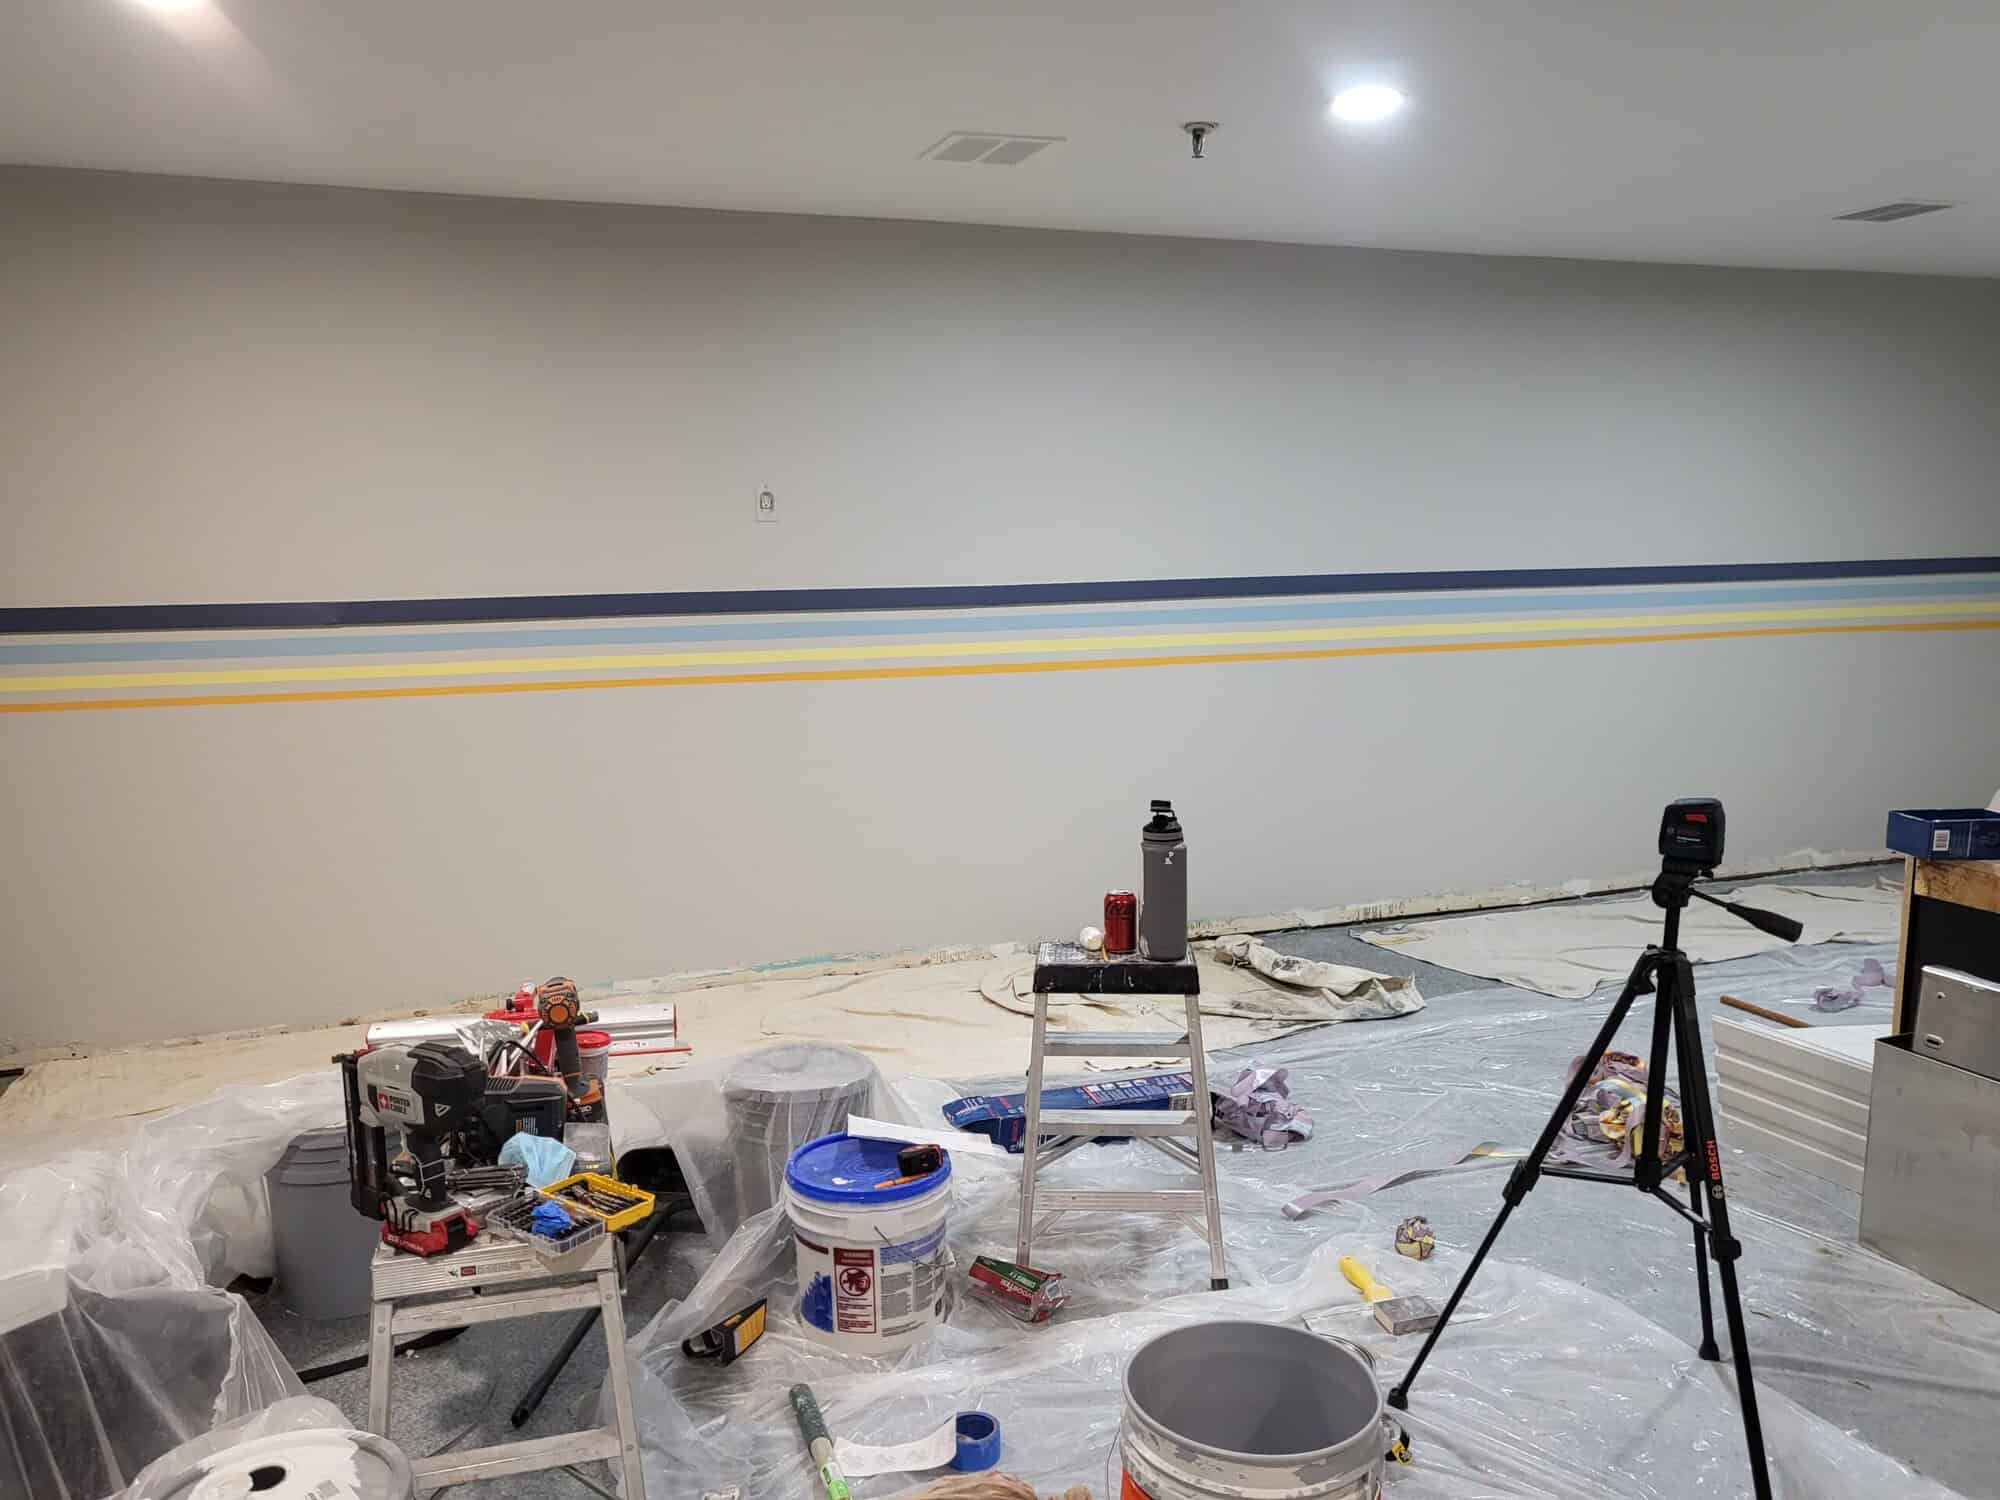
Roller marks are uneven lines or sheen differences that appear when fresh paint overlaps paint that has already begun to dry. They’re most noticeable under angled light or in satin, eggshell, or semi-gloss finishes—sheens that reflect light more visibly than flat paints. These streaks aren’t always a sign of poor coverage, but rather of uneven drying or inconsistent application.
Common Causes
-
Rolling over paint that’s already drying (no “wet edge”)
-
Applying uneven pressure on the roller
-
Using low-quality roller covers that shed or hold paint inconsistently
-
Painting under hot or dry conditions where paint flashes too fast
-
Skipping the second coat or applying it too thinly
Why Paint Quality Matters
Paint formulation directly impacts how forgiving it is. Lower-grade paints dry too quickly and lack self-leveling additives. High-quality lines—such as Benjamin Moore Aura®, Sherwin-Williams Emerald®, or Behr Marquee®—contain polymers that help paint flow and blend before curing, minimizing roller marks.
For a technical breakdown of how certain paints maintain sheen and resist wear, see facts on paint durability.
Common Causes of Roller Marks and Targeted Fixes
| Problem Source | Why It Happens | Smart Fix | Recommended Product or Tool |
|---|---|---|---|
| Uneven roller pressure | Applying too much or too little pressure | Keep steady, light pressure | Purdy® White Dove or Wooster® Micro Plush rollers |
| Rolling over dried sections | Paint dries before overlap | Work quickly, maintain a wet edge | Floetrol® (paint extender) |
| Low-quality paint | Poor leveling, fast drying | Use premium self-leveling paint | Sherwin-Williams Emerald® |
| Hot or dry conditions | Paint flashes before blending | Adjust humidity, slow drying | Portable fan / dehumidifier |
| Skipping second coat | Inconsistent sheen | Apply uniform second coat | Benjamin Moore Aura® |
Step 1: Identify How Severe the Roller Marks Are
Not all roller marks need a full repaint. The fix depends on timing and severity.
A. Fresh Marks (Still Wet)
If you notice streaks while the paint is still tacky, lightly re-roll the area in one direction with a properly loaded roller. Avoid pressing too hard; this only deepens texture inconsistencies.
B. Dried Marks
When the paint has dried, evaluate it under consistent lighting—preferably indirect or soft ambient light. If the marks are faint, light sanding may be enough. If they’re obvious or appear shiny, you may need to recoat the entire wall.
C. Professional Insight
Experienced painters use low-angle LED work lights to detect roller marks early. Catching and correcting them before full cure prevents expensive touch-ups later.
Step 2: Lightly Sand and Smooth the Surface
A. Why Sanding Works
Sanding levels raised texture caused by uneven roller pressure and smooths sheen differences. It also gives the surface enough “tooth” for new paint to adhere properly.
B. How to Sand
Use fine 220-grit sandpaper or a sanding sponge. Work in circular motions, applying light pressure. Wipe away dust with a microfiber cloth or tack cloth afterward.
C. Product Tip
For large wall areas, a pole sander offers even coverage and less fatigue. Avoid power sanders—they may remove too much paint.
D. Service-Specific Note
At Trio Painting, our interior house painting crews use dust-controlled sanding systems like Festool® Planex to smooth walls between coats. This ensures an ultra-fine finish, especially in homes and offices throughout Troy, MI.
Step 3: Reapply Paint Using the Correct Roller Cover
The roller cover you choose dramatically affects finish quality. Nap length determines how much paint is applied—and how smooth or textured the finish appears.
| Surface Type | Recommended Nap Length | Best Roller Cover Type |
|---|---|---|
| Smooth drywall | ¼”–⅜” | Woven microfiber or lint-free roller |
| Lightly textured | ½” | Woven polyester |
| Rough or uneven walls | ¾”–1” | Lambswool or knitted roller |
A. Application Technique
Load your roller evenly using a paint tray or grid—don’t over-saturate. Start with a “W” or “M” pattern to spread paint, then smooth over in a single direction without applying pressure.
High-quality rollers, like Purdy® White Dove, hold paint evenly and reduce streaks caused by uneven film thickness.
B. Professional Tip
Professional painters often use microfiber rollers paired with self-leveling paints to reduce visible roller marks in high-sheen finishes.
Step 4: Maintain a Wet Edge and Proper Painting Conditions
A. What “Wet Edge” Means
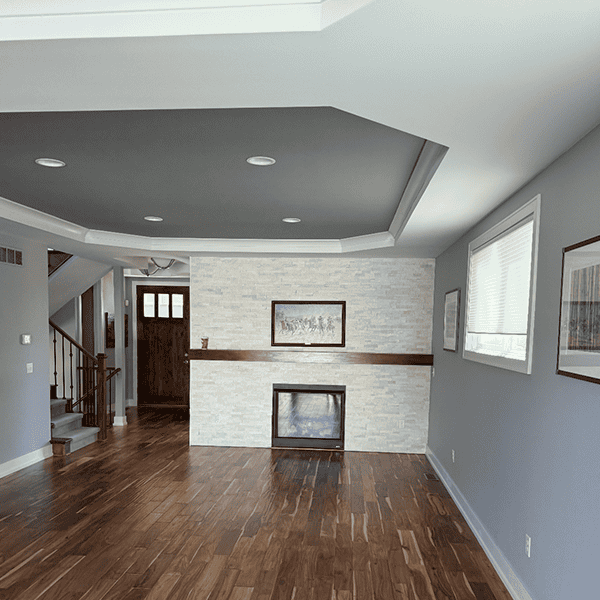
A wet edge is the overlap zone where one roller pass meets the next before the first dries. Maintaining it allows each section to blend seamlessly.
B. How to Maintain It
Work methodically—3×3-foot sections are ideal. Avoid long pauses. Roll top-to-bottom in continuous strokes.
Temperature and humidity also play huge roles. Ideal conditions are 50°F–85°F with 40–60% humidity. In dry climates or heated interiors, use a paint extender like Floetrol® to slow drying.
C. Service Insight
Our interior house painting team in Troy, MI paints corner-to-corner without stopping, ensuring each wall section dries uniformly. This precision is what prevents roller overlap marks under daylight or artificial lighting.
Step 5: Apply a Second Coat for Uniform Sheen
A. Why Second Coats Matter
Even if the first coat looks good, microscopic variations in film thickness can cause roller sheen inconsistencies as the paint cures. A second coat ensures full opacity and uniform reflectivity.
B. Proper Timing
Always allow the first coat to dry fully—typically 4–6 hours for most latex paints, or longer in humid conditions. Recoating too soon can lift or streak the first layer, worsening roller marks.
C. Product Advantage
Premium self-leveling paints like Benjamin Moore Regal Select® or Sherwin-Williams Duration Home® flow out naturally, minimizing lap lines and ensuring a balanced sheen. Two uniform coats using these formulas create an almost spray-like smoothness.
D. Service Application
Commercial and residential crews from Trio Painting schedule drying and recoat intervals precisely, maintaining optimal temperature and airflow to achieve flawless results in large interiors.
Fixing Roller Marks After Paint Has Fully Dried
Once paint cures completely (usually 7–14 days), touch-up becomes trickier—but not impossible.
A. Minor Marks
Lightly sand, then apply one thin coat with even pressure and a consistent rolling direction.
B. Moderate Marks
Mix a small amount of Floetrol® or paint conditioner into your paint to improve blending and self-leveling. Repaint the entire wall section rather than spot-touching to maintain uniform sheen.
C. Severe Marks
For severe sheen mismatch or streaking, sand the wall smooth, prime, and repaint. This is especially important with dark colors or gloss finishes that magnify imperfections.
D. Expert Service Tip
Professional painters at Trio Painting use angled inspection lighting after each coat. This early quality check ensures no roller marks remain once the paint fully cures.
DIY Fix vs. Professional Results
| Issue Level | DIY Fix Options | When to Call a Pro | Professional Advantage |
|---|---|---|---|
| Minor marks | Light sanding + re-roll | N/A | Quick, easy correction |
| Moderate marks | Full wall recoat | If marks persist | Even color blending, consistency |
| Severe streaks | Sand, prime, repaint | Recommended | Smooth, flawless texture finish |
Common Questions About Roller Marks
Q1. Can I touch up roller marks without repainting the whole wall?
Only if they’re small and fresh. Once dry, full-wall blending provides the best sheen consistency.
Q2. Why do roller marks appear after drying?
As paint cures, uneven film thickness reflects light differently—creating visible streaks.
Q3. Do paint conditioners really help?
Yes. Additives like Floetrol® for latex paints slow drying, reducing lap marks in warm or low-humidity environments.
Q4. Why do roller marks stand out more on darker colors?
Dark pigments exaggerate sheen variations. Always use self-leveling paint and two thin coats.
Q5. Do professional painters still use rollers?
Absolutely. Rollers deliver even texture, but pros use top-tier tools and steady techniques to ensure no roller overlap lines appear.
When to Hire a Professional Painter
If you’ve tried multiple fixes and roller marks keep reappearing, a professional painter can restore your walls to a factory-smooth finish.
Professional interior painters bring:
-
Precision sanding and leveling tools
-
Airless sprayers or microfiber rollers for even distribution
-
Controlled environment painting for consistent drying
-
High-grade coatings designed to self-level and resist streaking
Hiring a professional like Trio Painting saves time, materials, and the frustration of repeated touch-ups—especially when maintaining a premium interior aesthetic in homes, offices, or retail spaces.
A Streak-Free Finish Is About Process, Not Luck
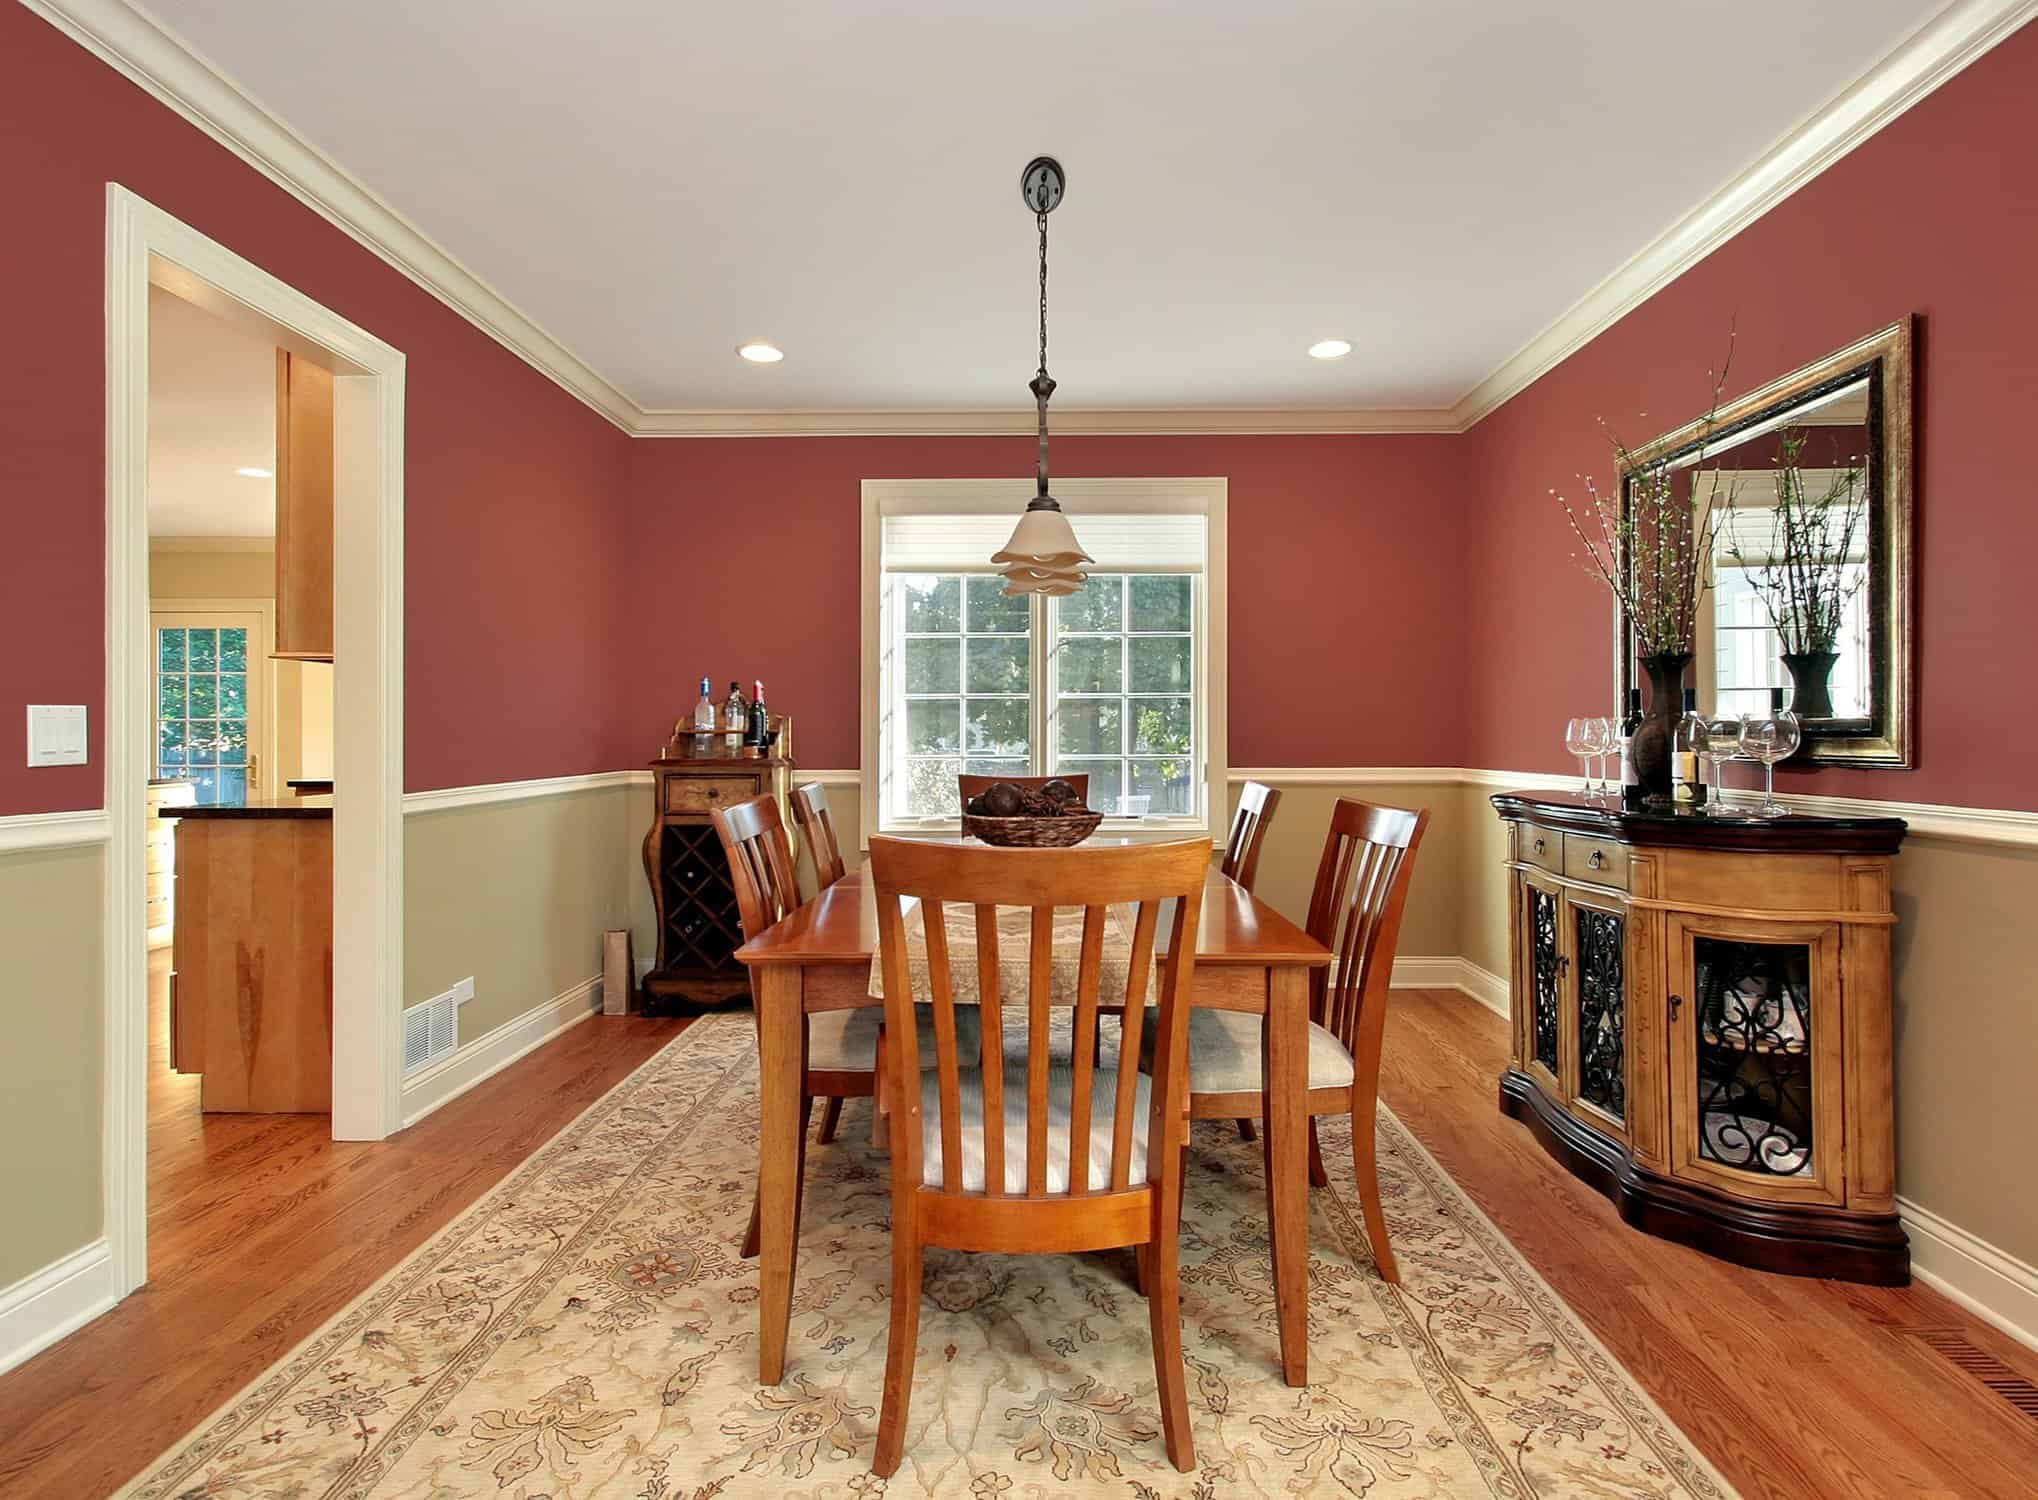
Roller marks may look discouraging, but they’re entirely preventable—and fixable. By sanding lightly, maintaining a wet edge, using quality tools and paint, and applying two thin coats under proper conditions, you can achieve the same level of smoothness that professionals deliver.
Whether you’re repainting your home’s interior or refreshing a commercial office, Trio Painting’s experienced crew in Troy, MI ensures streak-free, durable finishes through proven process control, technical expertise, and meticulous detail.
If you’re tired of seeing roller lines or uneven walls, trust our interior house painting service to restore perfection—and leave every wall looking like it was finished by a master craftsman.